Jaeden Schafer
Video podcasting has become the dominant format for content creators and businesses who want maximum reach and engagement. Platforms like YouTube, Spotify, and Apple Podcasts all prioritize video content, and short clips from video podcasts are among the highest-performing content on Instagram, TikTok, and LinkedIn. But producing a video podcast that looks professional requires more than just pointing a camera at your face. From camera selection and multi-angle setups to lighting design and post-production workflow, every detail contributes to the viewer's perception of your brand.
Camera Choices: DSLR, Mirrorless, and Webcam Compared
The camera you choose sets the ceiling for your video quality. In 2026, mirrorless cameras are the gold standard for video podcast production. Models like the Sony FX30, Sony A7 IV, and Canon R6 offer outstanding autofocus, excellent low-light performance, and the shallow depth of field that gives professional video its signature cinematic look. That blurred background you see on top-tier podcasts is not a filter. It is the result of a large camera sensor combined with a fast lens.
DSLR cameras can also produce excellent video, though many newer podcasters are moving away from them as mirrorless technology has surpassed DSLRs in autofocus speed, video features, and overall versatility. If you already own a DSLR with clean HDMI output, it can absolutely work for podcasting, but if you are purchasing new equipment, mirrorless is the better investment.
Webcams and smartphones sit on the other end of the spectrum. Modern flagship phones can shoot impressive 4K video, and webcams like the Elgato Facecam Pro deliver sharp 1080p or 4K footage. These options work well for getting started or for remote recording, but they cannot match the image quality, depth of field, and color science of a dedicated camera. At Podcast Studio AZ, we use Sony FX30 cinema cameras for every session, giving you broadcast-quality footage without needing to own any equipment yourself.
Multi-Camera Setup for Dynamic Visual Storytelling
A single static camera angle gets boring fast. Viewers expect visual variety, and a multi-camera setup is what separates amateur video podcasts from professional productions. For a solo show, two cameras are the minimum: a front-facing medium shot as your primary angle and a tighter or side-angle shot for cutaways. Switching between these angles during editing creates movement and keeps the viewer's eye engaged.
For interview and group formats, each speaker should have their own dedicated camera plus one wide shot that captures the full scene. This three-camera minimum for two-person shows gives your editor the flexibility to cut to whoever is speaking, show reactions from the listener, or pull back to a wide shot during transitions. The wide shot is also essential for creating short clips where viewers need context about who is in the conversation.
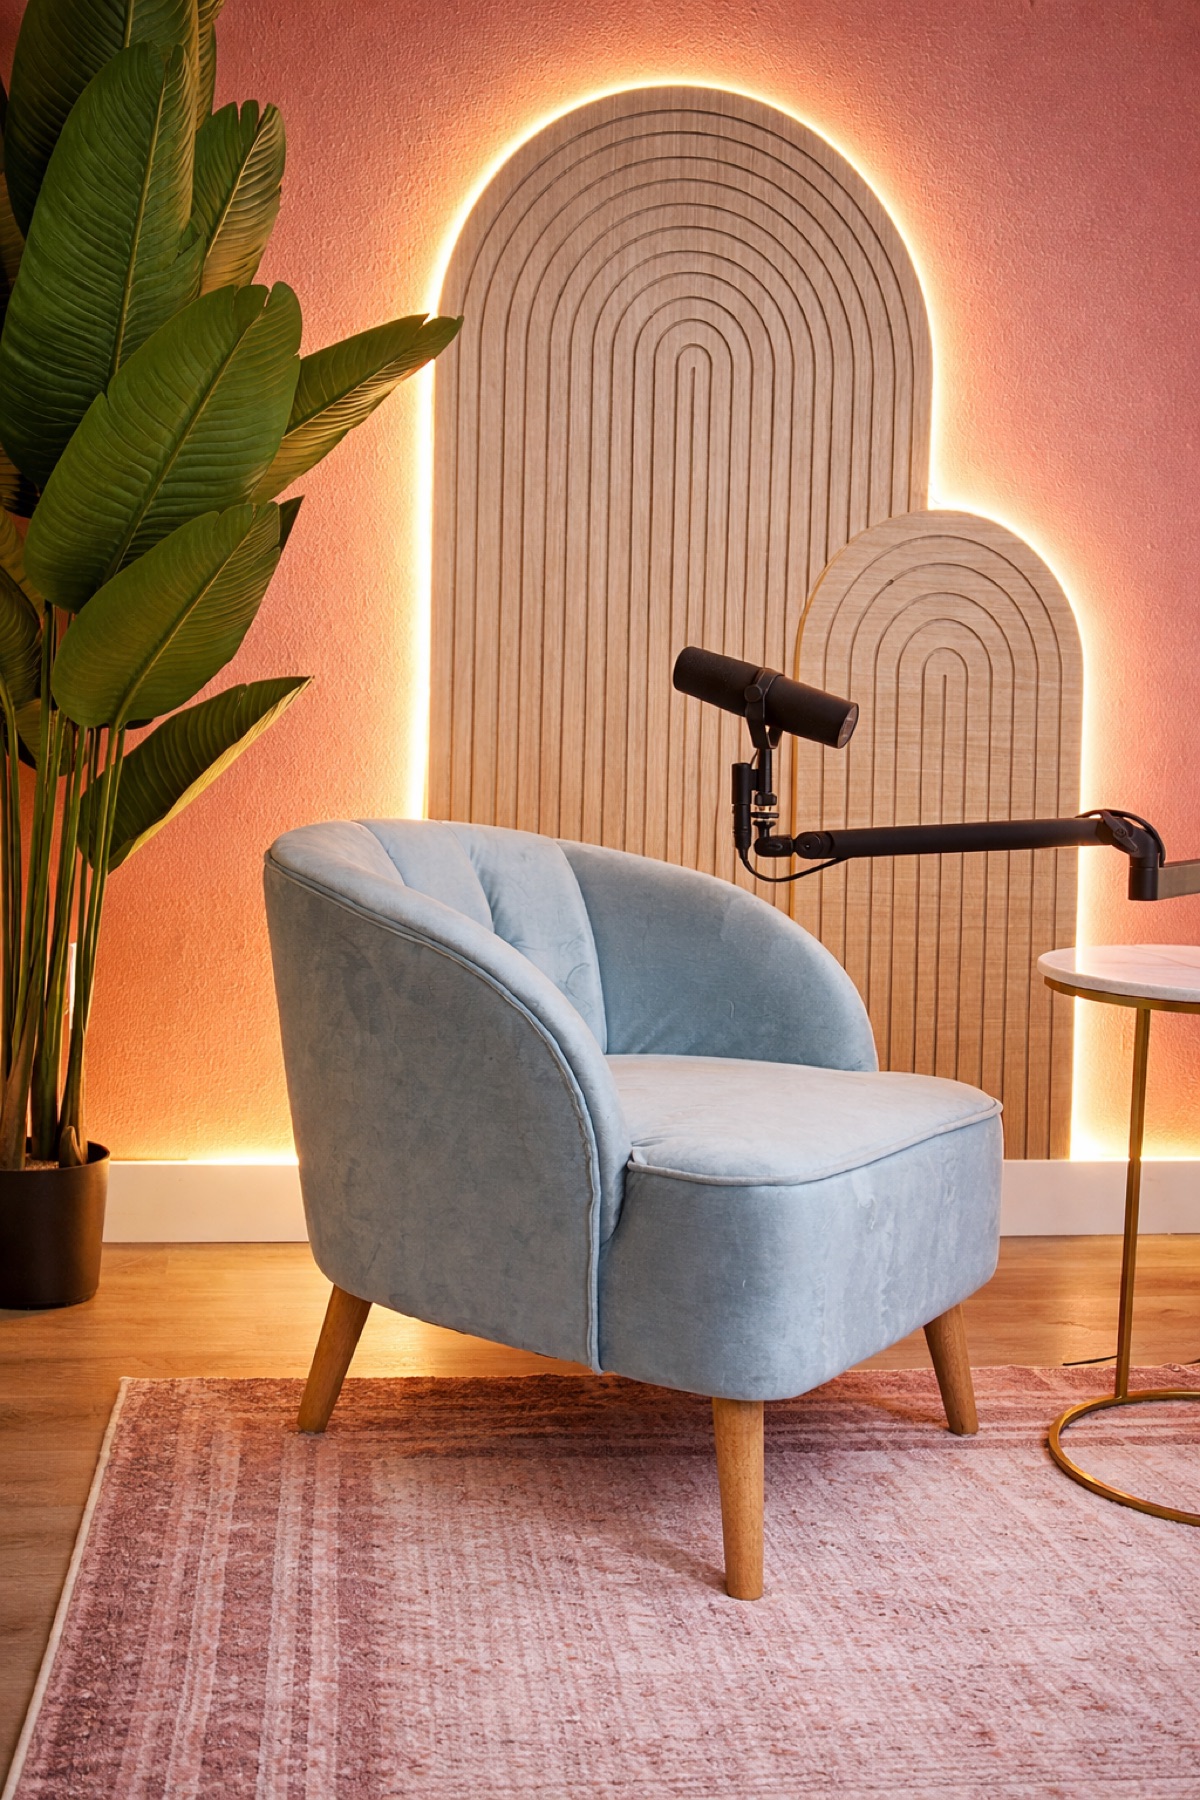
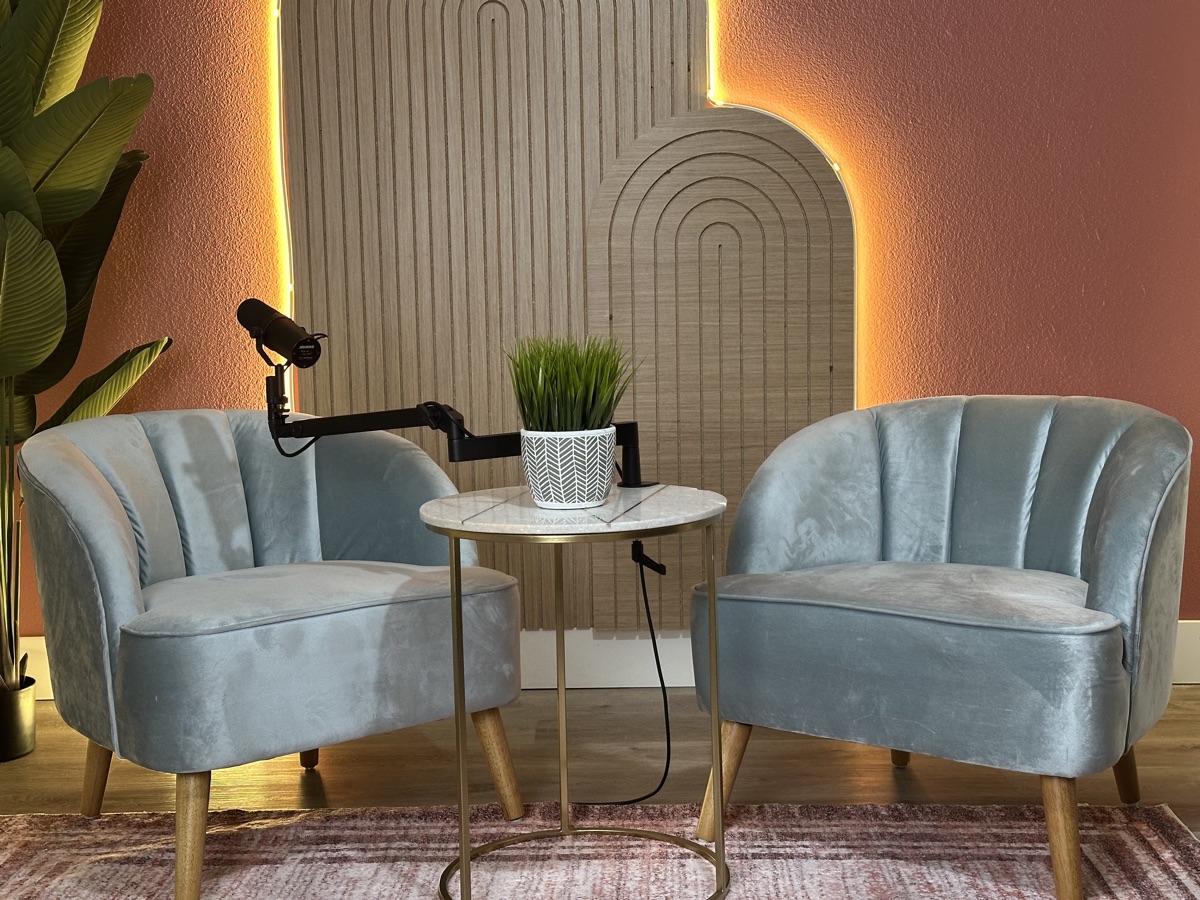
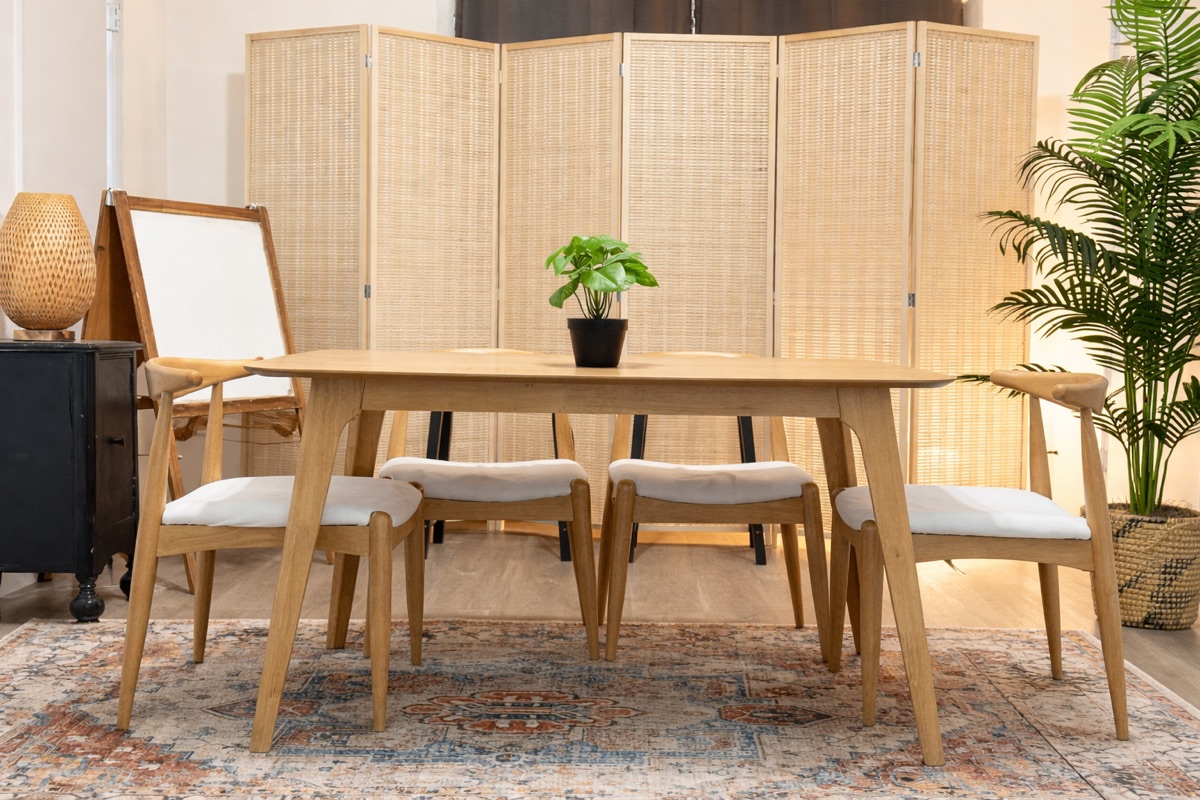
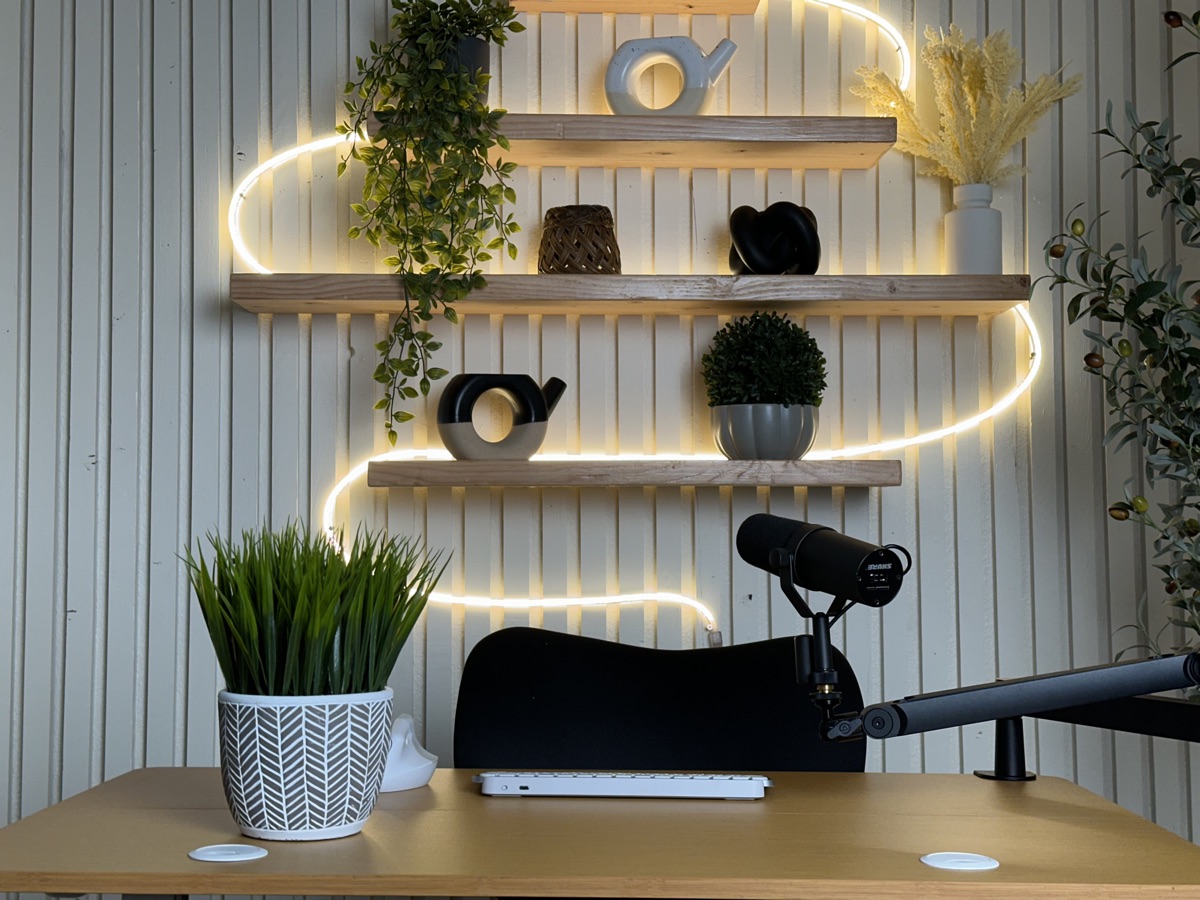
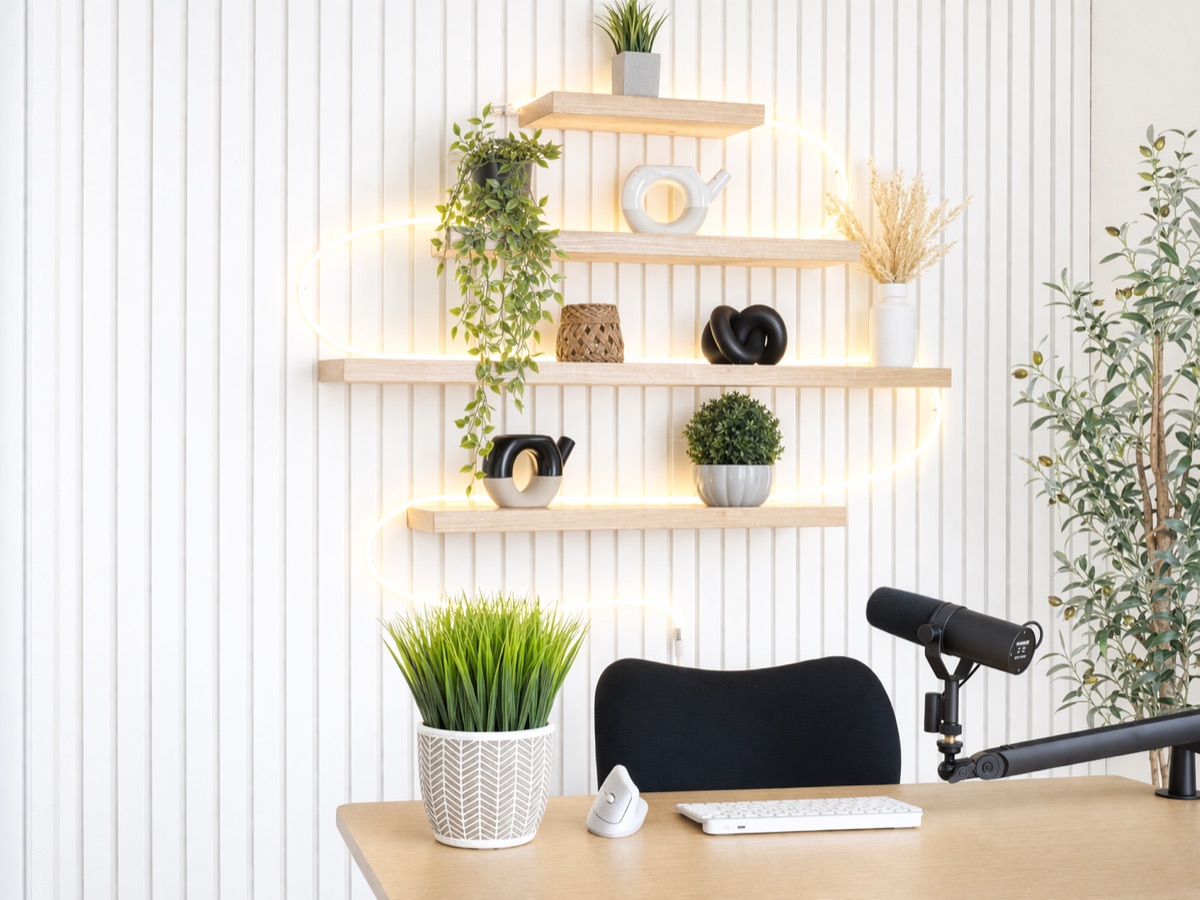
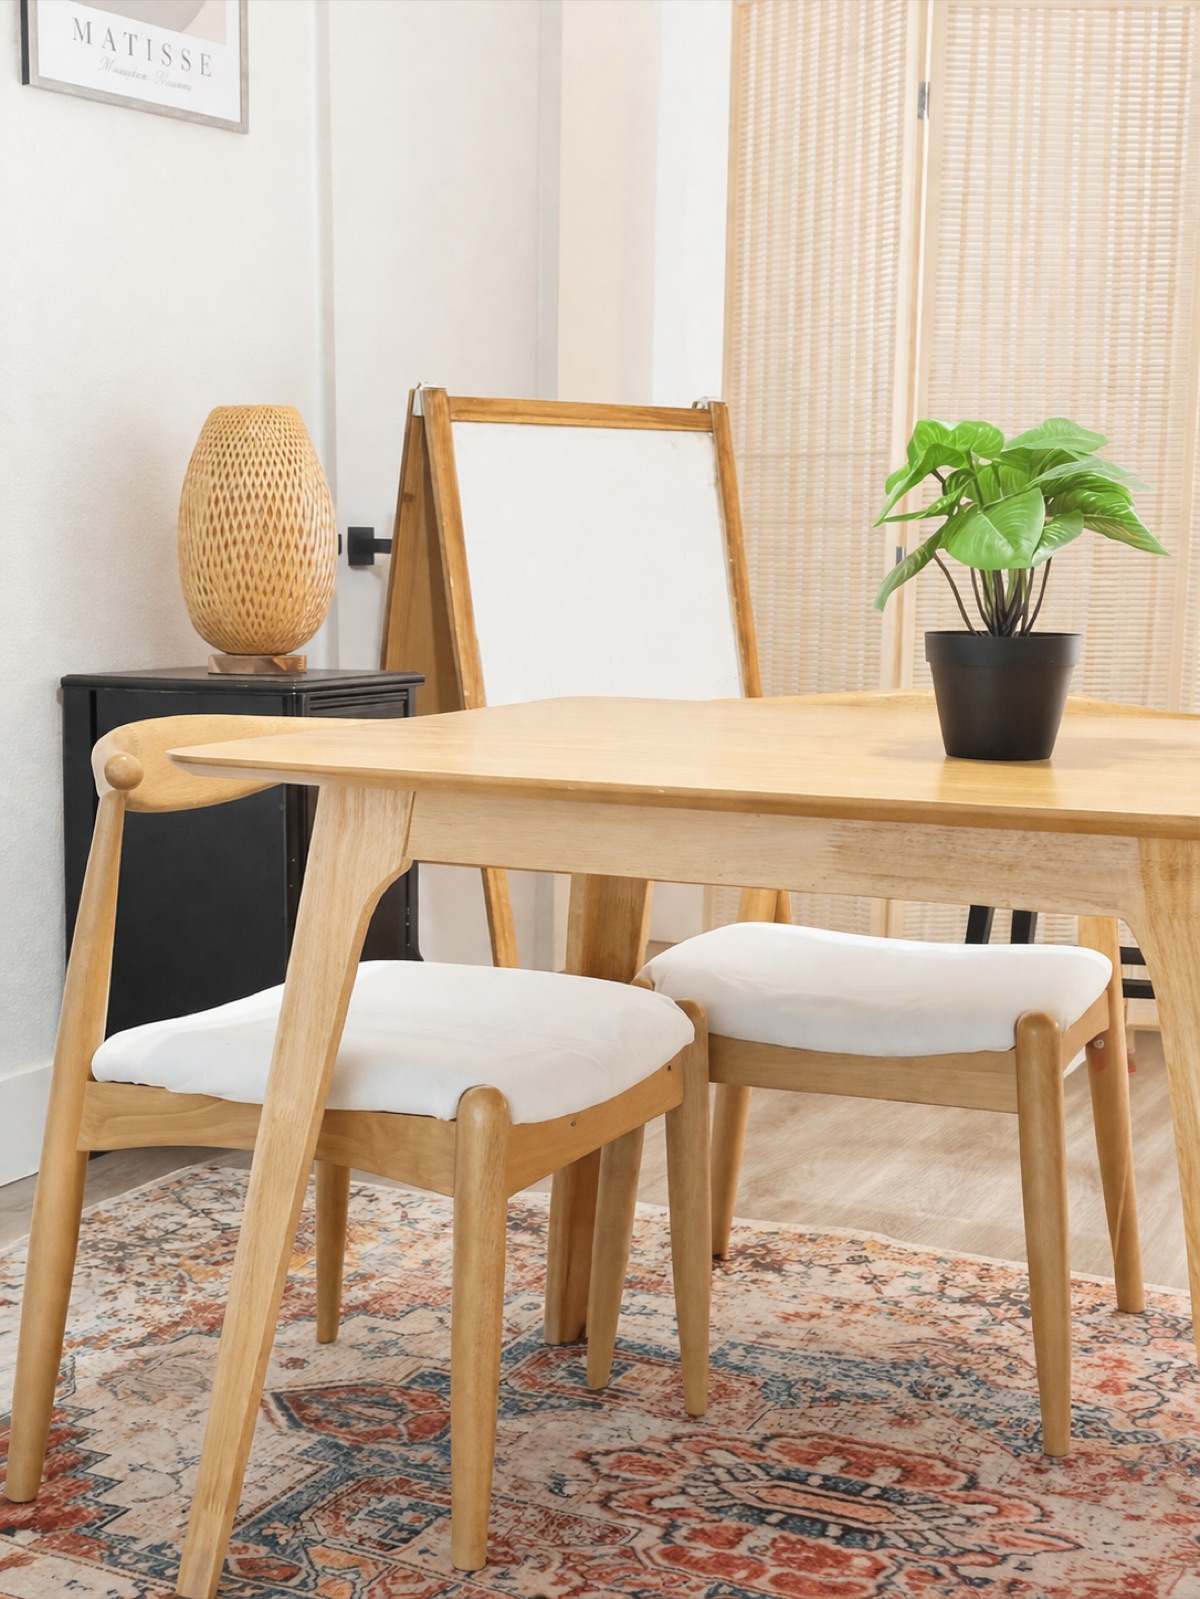
Camera placement matters as much as camera count. Position cameras at slightly different heights and angles to create visual depth. Avoid placing all cameras at the same level, which creates a flat, surveillance-camera feel. At Podcast Studio AZ, our three-set studio with Living Room, Blue Chairs, and Office configurations each have pre-positioned multi-camera rigs designed specifically for podcast recording, so your setup is ready the moment you walk in.
Three-Point Lighting and Background Design
Lighting is arguably more important than camera quality when it comes to how professional your video looks. A $5,000 camera in a poorly lit room will produce worse footage than a $500 camera with proper lighting. The industry standard for podcast and interview lighting is three-point lighting, which uses three light sources positioned strategically to create depth, dimension, and a flattering look for on-camera subjects.
The key light is your primary light source, positioned 45 degrees to one side of the subject and slightly above eye level. This creates natural-looking shadows that add dimension to the face. The fill light sits on the opposite side, typically at a lower intensity, and softens the shadows created by the key light. The ratio between key and fill determines the mood: a subtle fill creates even, corporate-style lighting while a dimmer fill creates more dramatic contrast. The back light, sometimes called a hair light or rim light, sits behind the subject and creates a subtle edge of light that separates them from the background.
Background design ties the whole visual package together. A cluttered or distracting background pulls attention away from the speaker. The best podcast backgrounds use depth, subtle texture, and intentional set design. Bookshelves, plants, branded elements, and colored accent lighting all contribute to a visually interesting but non-distracting backdrop. The three professional sets at Podcast Studio AZ are designed with these principles built in, offering distinct visual identities for different podcast styles and brand aesthetics.
Framing, Composition, and On-Camera Presence
How you frame your shot communicates as much as what you say. The standard podcast framing is a medium shot that captures the subject from the chest up, with the eyes positioned roughly one-third from the top of the frame following the rule of thirds. This framing feels conversational and natural while leaving enough room to see hand gestures and body language.
Leave a small amount of headroom above the subject but not so much that they appear small in the frame. The most common framing mistake in DIY video podcasts is sitting too far from the camera, which creates a distant, impersonal feel. Move the camera closer and use a wider lens angle rather than zooming in from far away, which compresses the image and flattens facial features.
Eye contact with the camera lens is critical for solo segments and intros. When speaking directly to your audience, look into the lens rather than at the screen or monitor. During interviews, speakers naturally look at each other, and the cameras capture that authentic conversational dynamic. Posture also affects how you are perceived on camera. Sit up straight, lean slightly forward to convey engagement, and keep your shoulders relaxed. These small adjustments in body language make a significant difference in how professional and trustworthy you appear to viewers. For tips on the audio side of production, read our guide on what makes a podcast sound professional.
Editing Workflow and Export Settings for YouTube
Post-production is where your raw footage becomes a polished video podcast. The editing workflow starts with syncing all camera angles and audio tracks on a timeline. Software like DaVinci Resolve, Adobe Premiere Pro, or Final Cut Pro all offer multi-camera editing modes that let you switch between angles in real time while watching playback, dramatically speeding up the editing process.
Start your edit by laying down the audio track and making content cuts: removing long pauses, tangents, filler words, and any segments that do not serve the episode. Then switch to the multi-camera view and select camera angles based on who is speaking, reaction shots, and visual variety. Add a lower-third graphic with each speaker's name and title in the first few minutes. Include your podcast logo as a subtle watermark or intro animation. B-roll footage, screen recordings, or graphics can be layered over the main footage to illustrate specific topics being discussed.
For YouTube export settings, use 1920 by 1080 resolution at minimum, though 3840 by 2160 for 4K is increasingly preferred as it allows YouTube to allocate higher bitrate encoding to your video. Export using H.264 or H.265 codec in MP4 format with a target bitrate of 10 to 16 Mbps for 1080p or 35 to 45 Mbps for 4K. Use 24 or 30 frames per second for a natural look. Audio should be exported as AAC at 320 kbps. At Podcast Studio AZ, all of this complexity is handled for you. Our sessions include multi-camera Sony FX30 recording, professional lighting across three unique sets, dedicated engineering, and Shure SM7B microphones mixed through a RODECaster Pro II, so you walk away with broadcast-ready content. Book a session and let us handle the production while you focus on your message.
Studio Pricing
$225/hr
Studio + Filming
$350/hr
Studio + Filming + Editing
$450/hr
Studio Content Package
Every session includes multi-camera filming, professional audio, lighting, and a dedicated engineer, with raw footage delivered. The higher tiers add a fully edited podcast episode and short-form social clips. Weekend sessions available by request.
Book NowFrequently Asked Questions
What camera should I use for a video podcast?
How many cameras do I need for a video podcast?
What is three-point lighting for podcasting?
What are the best export settings for a video podcast on YouTube?
Can I produce a video podcast without professional equipment?
Record Your Podcast atPodcast Studio AZ
Our full-service video and podcasting studio is ready to make your next project shine — with an in-house video engineer ready to assist.