Jaeden Schafer
Camera Angles and Framing That Keep Viewers Watching
Video podcasting is not just audio with a camera pointed at your face. The way you frame your shots directly affects whether viewers stay or scroll past. The most important rule is the rule of thirds: position your eyes along the upper third line of the frame, not dead center. This creates a natural, visually pleasing composition that mirrors how professional TV interviews are framed. Leave a small amount of headroom above your head — too much empty space above makes you look small, too little makes the frame feel claustrophobic.
For a two-person interview, each host or guest should be framed in their own camera at a medium close-up — roughly chest level to just above the head. A third camera should capture a wide shot of both people together, giving your editor a cut-away option that adds visual variety. The wide shot also establishes the set and the spatial relationship between speakers, which helps the viewer feel like they are in the room.
Camera height matters more than most beginners realize. Position the lens at eye level or very slightly above. A camera angled up from below is unflattering (it emphasizes the chin and nostrils), while a camera too far above makes you look diminished. At Podcast Studio AZ, our Sony FX30 cameras are positioned on tripods at precise heights for each set, so every guest looks their best without any adjustment.
Lighting Setup: The Difference Between Amateur and Professional
Lighting is the single biggest factor separating amateur video podcasts from professional ones. You can have a $3,000 camera, but if the lighting is flat or harsh, the footage will look cheap. Conversely, a $500 camera with great lighting can produce stunning results. The standard approach is three-point lighting, and understanding it will transform your video quality overnight.
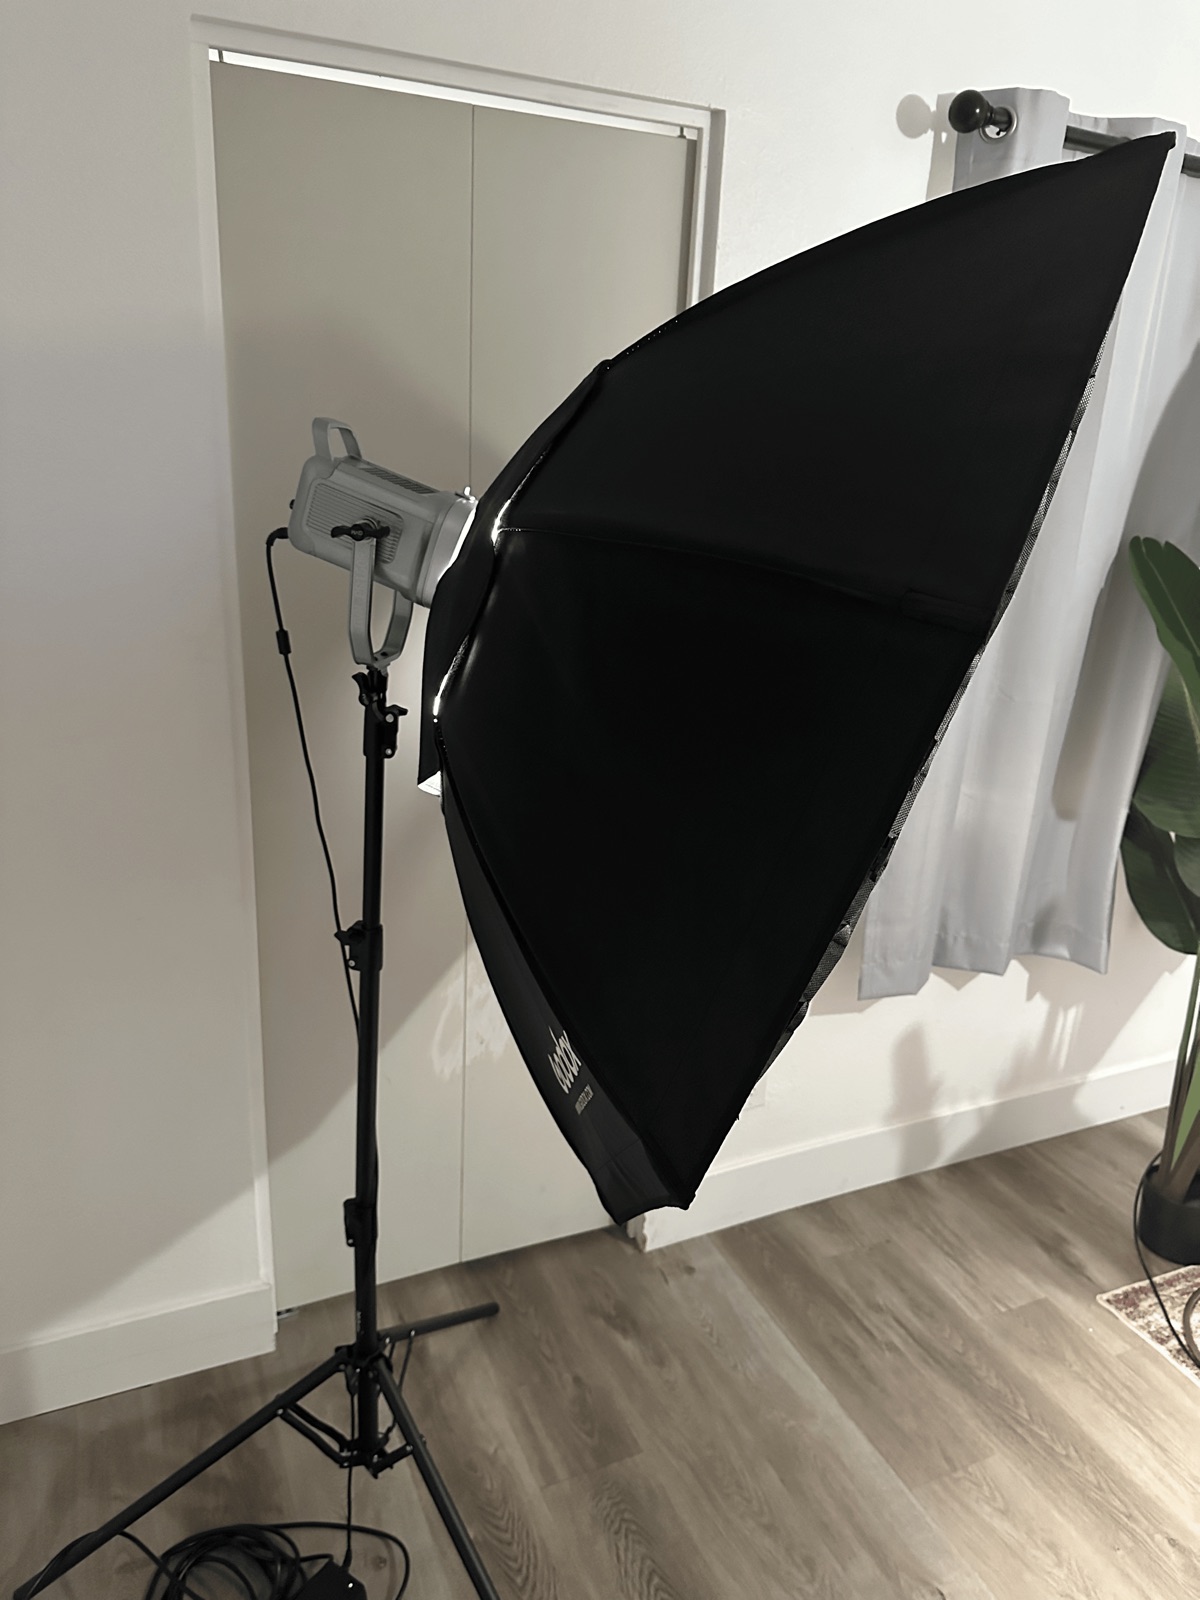
Your key light is the primary light source, positioned about 45 degrees to one side of your face and slightly above eye level. This creates natural-looking shadows that add depth and dimension. A softbox or large LED panel works best because it diffuses the light, avoiding harsh shadows. Your fill light sits on the opposite side at a lower intensity — roughly 50-70% of the key light — to gently lift the shadows without eliminating them entirely. The contrast between key and fill is what gives your face a three-dimensional look.
The back light (also called a hair light or rim light) sits behind you, aimed at your head and shoulders. It creates a subtle glow around your outline that separates you from the background, adding depth to the image. Without a back light, you can blend into your background and the image looks flat. At Podcast Studio AZ, professional lighting is built into every set — the Living Room, Blue Chairs, and Office sets each have tuned three-point lighting rigs that make every guest look broadcast-ready without any setup on your part.
Background and Set Design That Builds Your Brand
Your background communicates as much about your podcast as your words do. A cluttered bedroom says "hobbyist." A thoughtfully designed set says "professional." You do not need to spend thousands on set design, but you do need to be intentional. The best podcast backgrounds have depth — elements at multiple distances from the camera create visual layers. A bookshelf two feet behind you, a plant four feet behind that, and a piece of art on the far wall creates a rich, layered look.
Color coordination matters. Pick two or three colors that align with your podcast brand and carry them through your set. If your brand colors are navy and gold, consider a dark bookshelf with gold-accented decor items. Avoid busy, distracting backgrounds — the viewer's attention should be on you, not on the pile of cables behind your monitor. If your space is limited, a simple background with one or two tasteful elements (a plant, a framed poster, a neon sign with your show name) can look clean and professional.
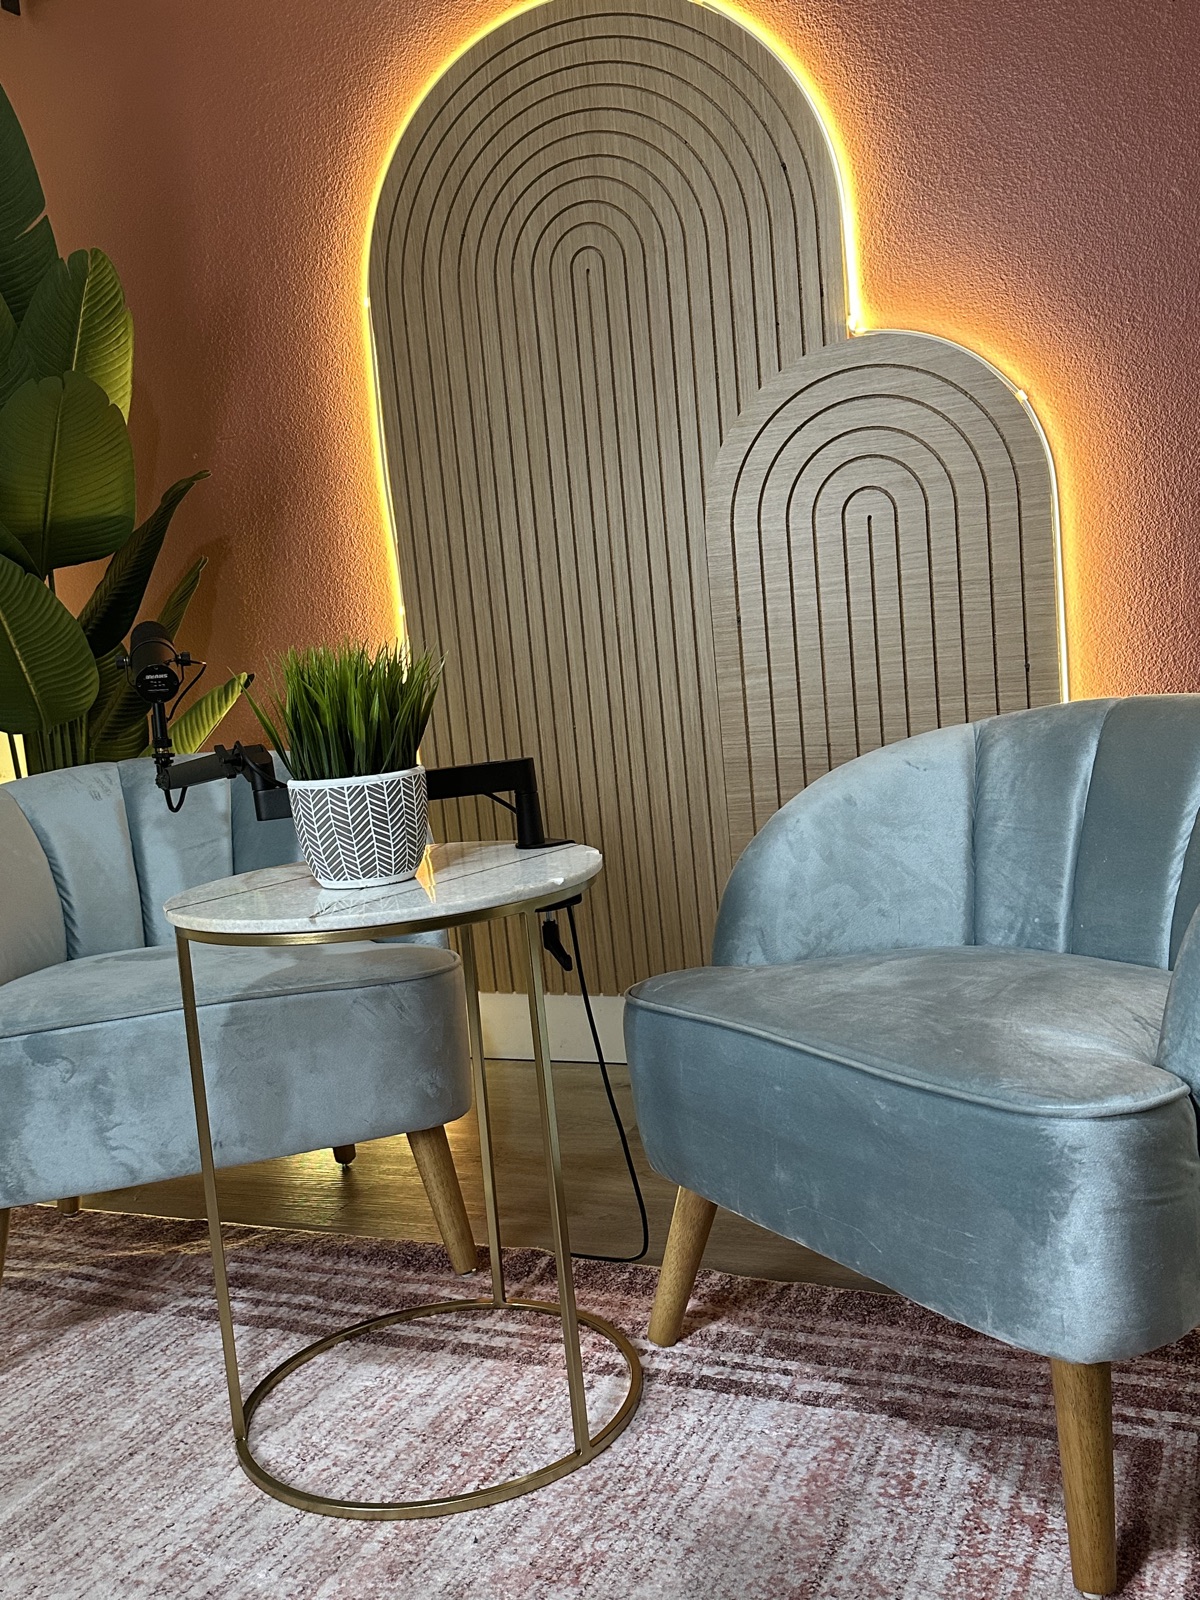
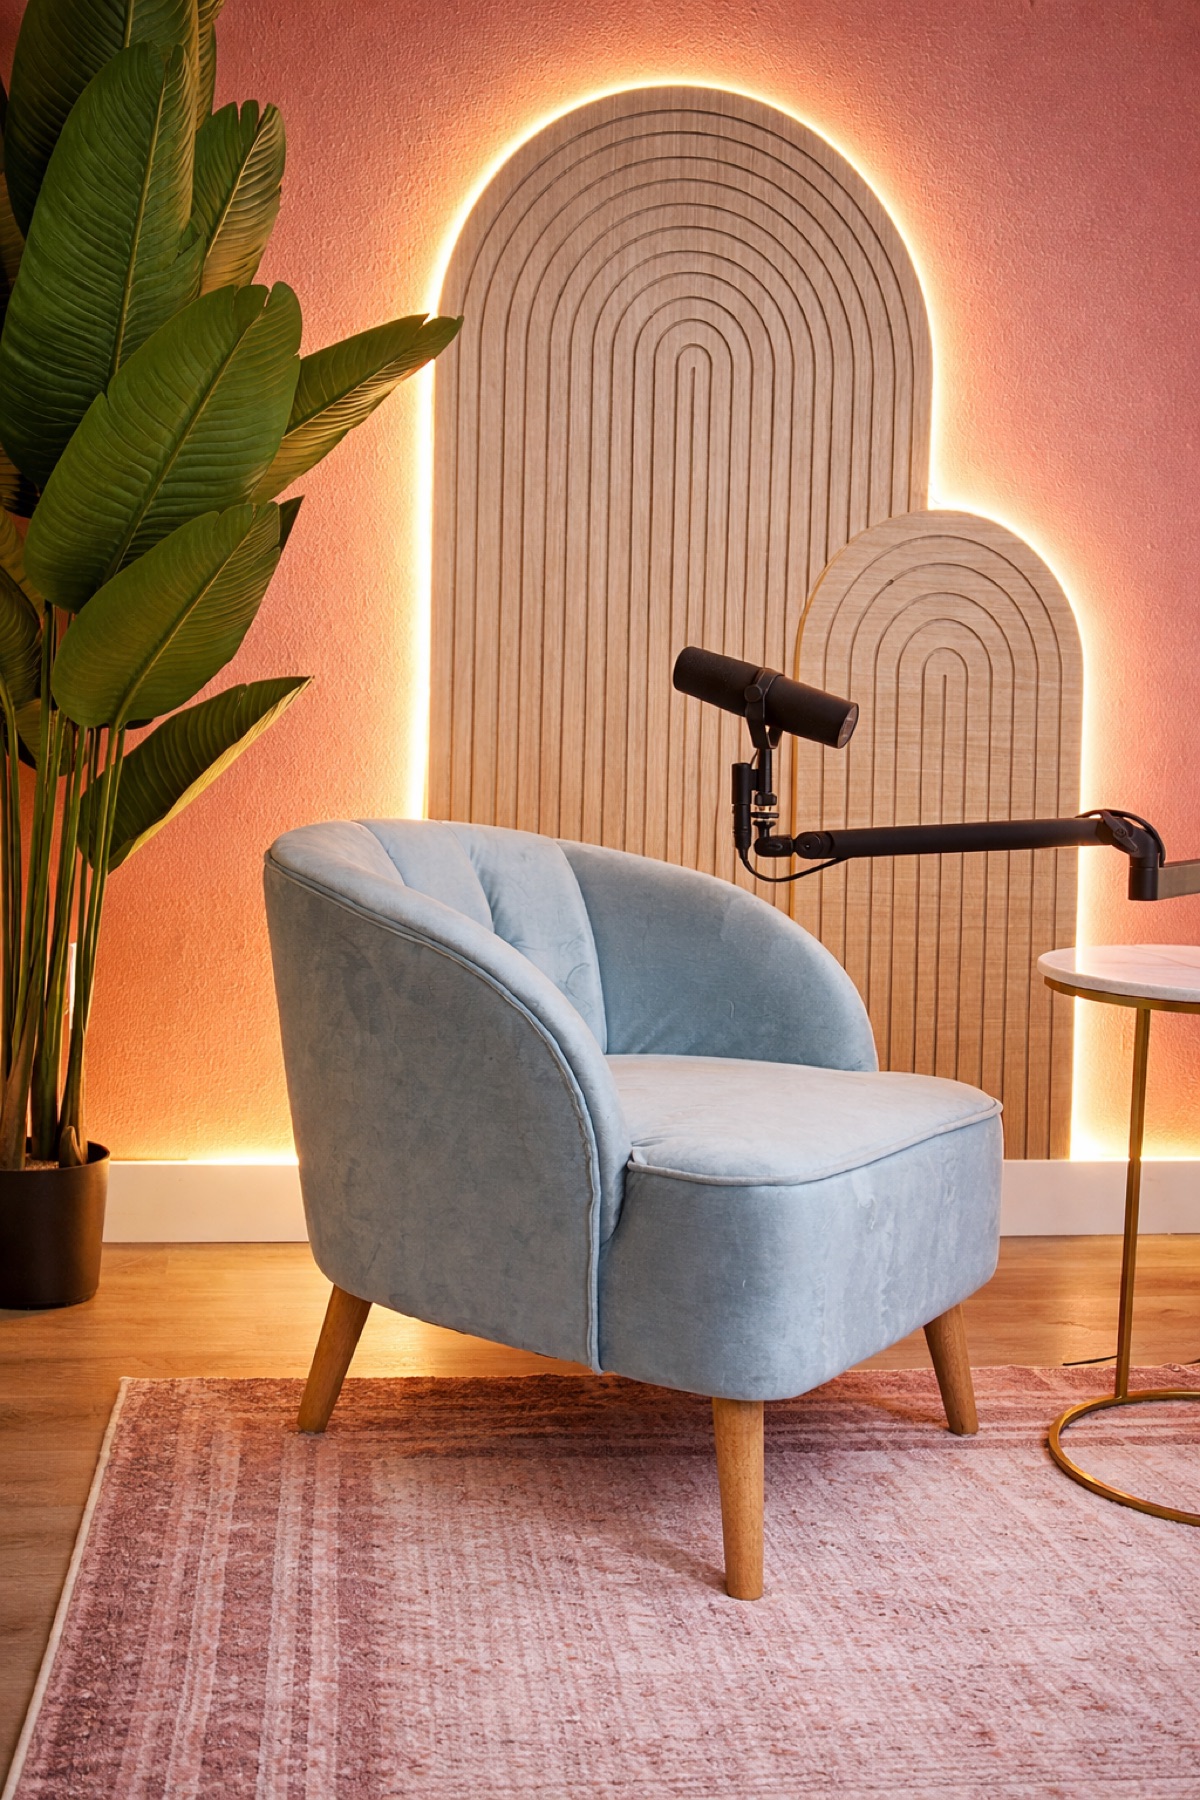
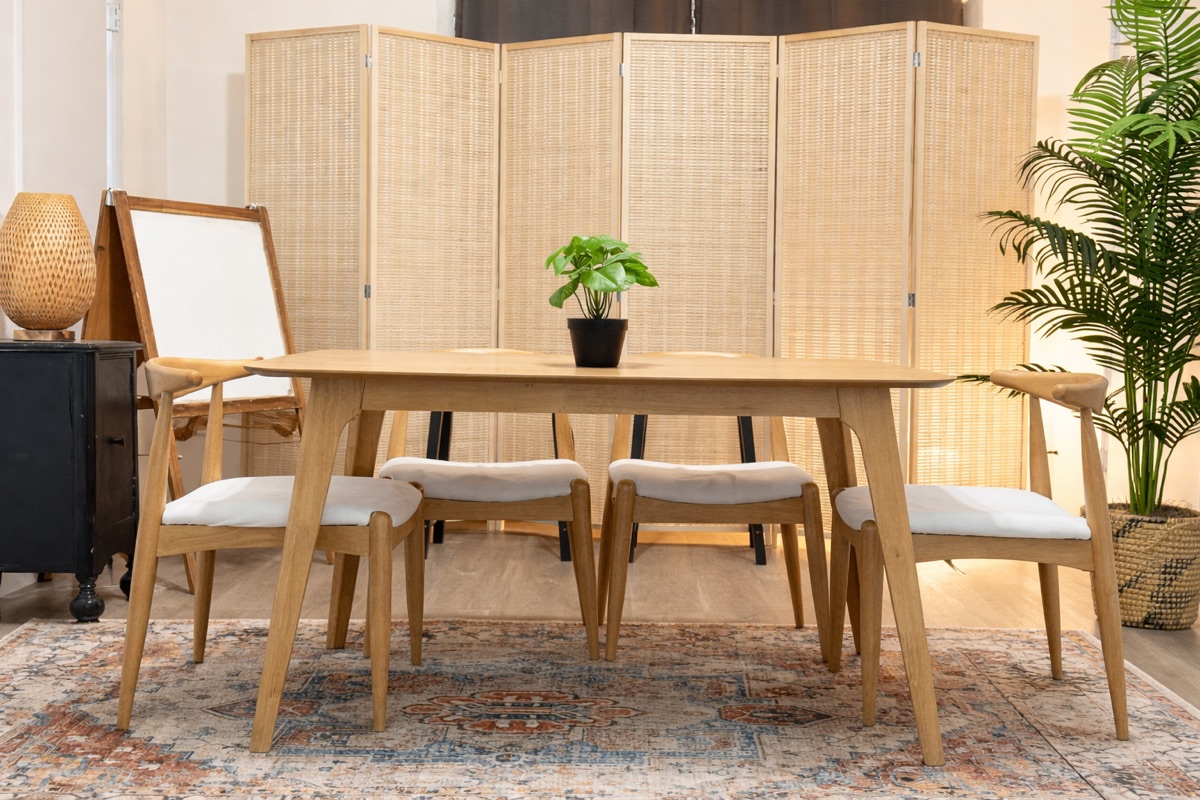
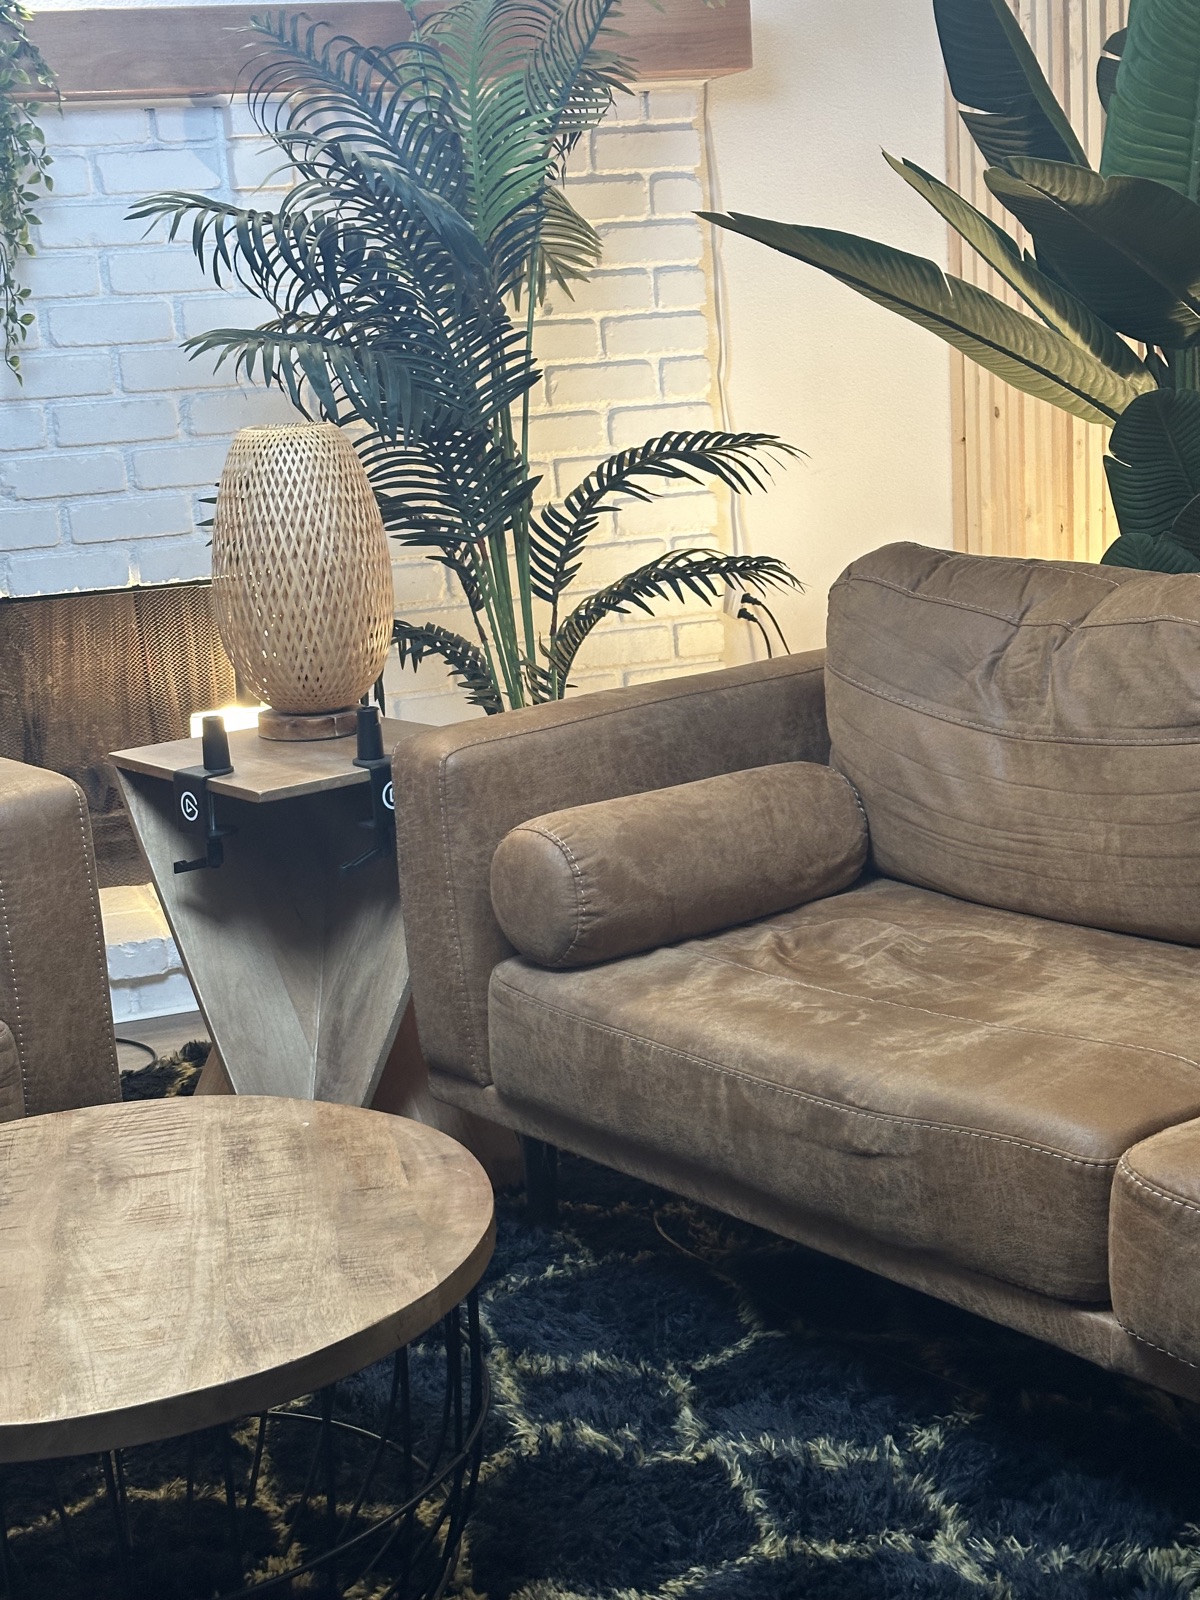
This is one area where a professional studio delivers immediate value. Podcast Studio AZ offers three distinct sets — the Living Room set for warm, conversational shows, the Blue Chairs set for a modern interview look, and the Office set for business and corporate content. Each set is designed with camera-ready backgrounds, proper depth, and brand-neutral aesthetics that work for any podcast genre. Instead of spending weeks building and iterating on a home set, you walk in and start recording in a space that already looks polished on camera.
Multi-Camera Recording and Audio Sync
The hallmark of a professional video podcast is multi-camera editing — cutting between a close-up of the speaker, a reaction shot of the listener, and a wide establishing shot. This visual rhythm keeps the viewer engaged in a way that a single static camera angle simply cannot. If you are building a home multi-camera setup, you need matching cameras (or at least cameras with similar color profiles), a way to sync the footage, and enough storage for multiple high-resolution video streams.
Audio sync is the hidden complexity of video podcasting. For the best audio quality, you should record audio separately from your cameras — using an audio interface or dedicated recorder like the Zoom H6 or RODECaster Pro II — and then sync the audio and video files in post-production. The traditional method is a hand clap at the start of each recording, which creates a visible spike in the audio waveform and a visual cue in the video. Modern editing software like DaVinci Resolve, Premiere Pro, and Descript can auto-sync based on waveform analysis, but it is not always perfect.
This is honestly where the DIY approach becomes a significant time sink. Setting up three cameras, running separate audio, syncing everything in post, and color-matching the footage can add hours to your workflow for every episode. When you book a session at Podcast Studio AZ, our dedicated engineer handles multi-camera recording, audio levels, and sync in real time. You get broadcast-quality video files with perfectly synced audio, delivered ready for editing or publishing. If you are serious about video podcasting and value your time, a professional studio setup pays for itself in hours saved — and in the quality of the final product your audience sees.
Studio Pricing
$225/hr
Studio + Filming
$350/hr
Studio + Filming + Editing
$450/hr
Studio Content Package
Every session includes multi-camera filming, professional audio, lighting, and a dedicated engineer, with raw footage delivered. The higher tiers add a fully edited podcast episode and short-form social clips. Weekend sessions available by request.
Book NowFrequently Asked Questions
What camera should I use for a video podcast?
How many cameras do I need for a video podcast?
What is three-point lighting for podcasting?
What should I wear on a video podcast?
Do I need to sync audio and video separately?
Record Your Podcast atPodcast Studio AZ
Our full-service video and podcasting studio is ready to make your next project shine — with an in-house video engineer ready to assist.